
Sourdough starts with two ingredients and some patience. Mix flour and water in a jar, keep it warm, feed it on a schedule, and by the end of the week you'll have a bubbling culture strong enough to raise a real loaf. The early days are the confusing part. One morning the jar smells like nail polish remover, the next it looks completely dead. Both are normal. Here's a day-by-day plan that tells you what to do and, just as usefully, what to expect.
What You Need Before Day One
None of this is expensive, but a few pieces of kit make the week much easier to read.
- A clear glass jar, roughly 500ml to 1 litre, so you can watch bubbles and rise from the side.
- A lid that sits loosely, or a cloth held with a rubber band. Starter needs to breathe.
- A digital scale. Volume measuring is too inconsistent for a culture you feed daily.
- Unbleached flour. Whole wheat or rye ferments faster than white; a 50/50 mix works well.
- Room-temperature water. If your tap water is heavily chlorinated, leave a jug out overnight.
- A marker or rubber band to note the level in the jar after each feed.
You'll keep about 50g of starter and feed it 50g flour and 50g water. Small amounts mean less waste while you learn.
The 7-Day Feeding Schedule
Warmth is the hidden variable here. A starter at 24°C (75°F) moves nearly twice as fast as one at 18°C (65°F). Aim for 21–24°C, out of direct sun and away from a draughty window.
Days 1 and 2: mix, then leave it alone
Day 1: weigh 50g flour into the jar, add 50g water, and stir until no dry patches remain. Scrape the sides down, cover loosely, and leave it on the counter.
Day 2: stir once. You might see a few small bubbles, or none at all. Feed only if it smells strongly of acetone, in which case give it 25g flour and 25g water and carry on.
Days 3 to 5: twice-daily feeds
From day 3, feed roughly every 12 hours, morning and evening, using this routine:
- Stir the starter down, then pour off all but about 50g.
- Add 50g flour and 50g water.
- Stir hard for 20 seconds, until it looks like thick pancake batter.
- Mark the new level on the jar.
- Cover loosely and return it to its warm spot.
This is the stretch where most starters throw a curveball. Around day 3 you'll often get a dramatic rise and a rush of bubbles, then a flat, sulky day with almost nothing. That first burst is usually bacteria rather than yeast, and it fades. Keep feeding on schedule anyway.
Days 6 and 7: look for a reliable rise
By now you want the starter to double its marked level within four to eight hours of a feed, hold a domed top, then fall back. Once that happens twice in a row, it's ready. If day 7 arrives and it's still sluggish, keep going with twice-daily feeds. Cold kitchens can stretch the timeline to ten days or a fortnight, and that isn't failure.
What to Expect Along the Way
The texture changes as much as the smell. Early on it's a stiff paste. As it matures it loosens and turns stringy when you stir, with a lacy web of bubbles when you lift the spoon. You'll also see a greyish or brown liquid form on top if you're late with a feed. That's alcohol, known as hooch, and it signals hunger rather than spoilage.
Troubleshooting Smells, Textures and Speed
- Sharp and solvent-like, of nail polish remover: the starter is starving. Feed more often, or use a bigger ratio of flour and water to starter.
- Yoghurt, green apple, beer: healthy, and exactly what you want.
- Faintly sulphuric in the first few days: common while the culture settles, and it usually fades. If it smells genuinely rotten and two feeds don't help, bin it and start again in a clean jar.
- Thick brown or grey liquid on top: hooch. Stir it in for a tangier starter, or pour it off for a milder one.
- Pink, orange or furry patches: mould. Throw the whole jar out and start over. Don't scoop off the top and continue.
- Runny and thin: drop the water by 5g for a few feeds. Very stiff and dry: add a splash more.
Knowing When It's Ready
Rise is the best test. A spoonful of ripe starter floats in a glass of water, though that trick can mislead you, since a thin starter floats even when it's hungry. Trust the jar instead: doubled, domed, spongy, clean-smelling, and predictable. If your starter peaks at 4pm but you want to bake in the morning, feed it late at night so the timing lines up.
Your First Loaf
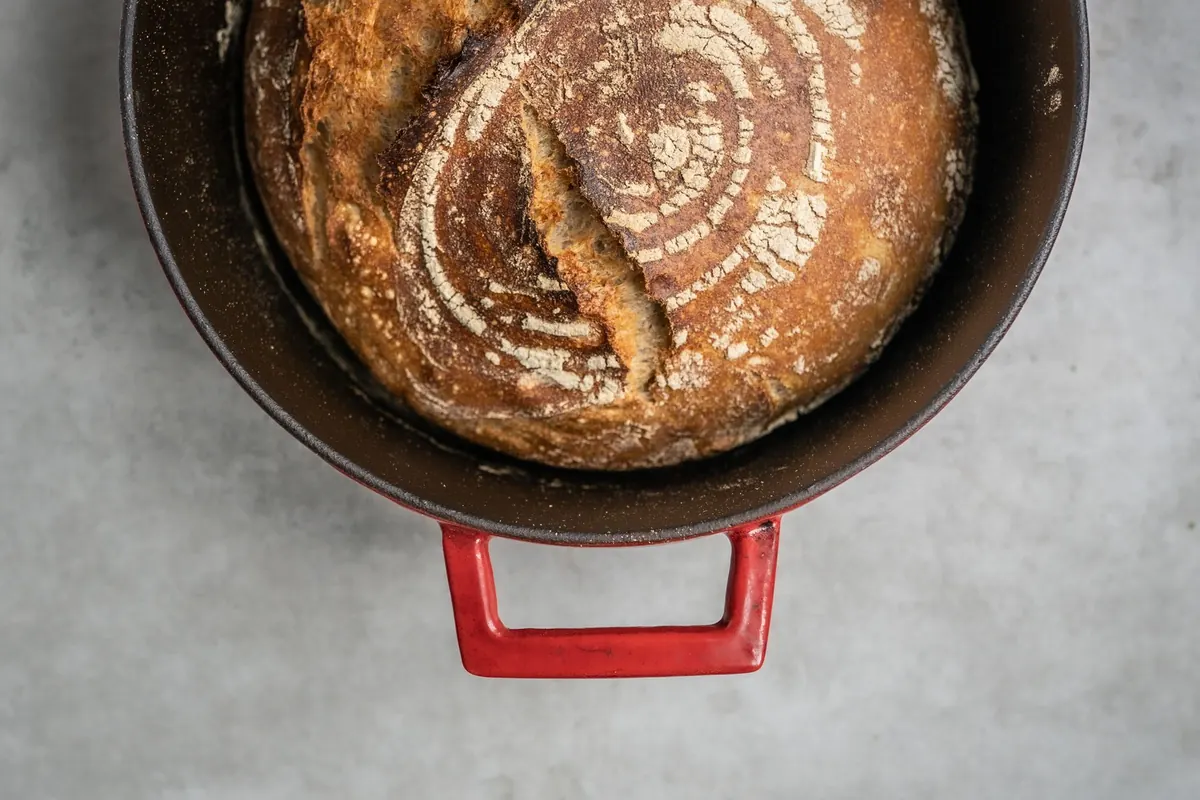
Keep the first bake simple. Mix 100g active starter with 375g water, then add 500g bread flour and 10g salt. Rest 30 minutes, then give it three or four sets of stretch and folds, 30 minutes apart. Let it rise until it's roughly 50–75% bigger, shape it, and cold-proof it overnight in the fridge. Bake in a preheated Dutch oven at 230°C (450°F) with the lid on for 20 minutes, then lid off for another 20 to 25, until deeply browned.
Use the starter at its peak, not after it has collapsed. A starter past its best still makes bread, but the loaf will be dense and slow to rise. Your first attempt may spread wider than you'd like. That's shaping and timing, not your starter. Bake a second one a week later and compare.
Keeping It Alive Between Bakes
Once your starter is established, move it to the fridge and feed it weekly: pour off most of it, add 50g flour and 50g water, leave it out for an hour, then put it back. Bring it to room temperature and give it two feeds before baking. If you'd rather not risk losing it, spread a thin layer on baking paper, let it dry completely, and store the flakes in a sealed jar, reviving them later with warm water and a few feeds.
Photo: Sophie Dale / Pexels
Related posts
More stories you’ll love reading